Spin - The multithreading manager for Electron
Pre-alpha version
Introduction
Spin is a template that allows you to start a simple Electron application with included a boilerplate code that contains methods for managing multithreading processes in a simple way.
Some of the methods are related to code execution, others allows also to customize the page HTML in the children processes.
Architecture
The project makes an extensive use of the worker_threads npm module, available in all the modern npm versions.
The majority of the code is in main.js, enclosed in a SECTION comment tag and commented. In the included worker example script, you can easily examine and apply Spin methods to your project.
Examples
in main.js, after creating a window, you can add something like:
start_subroutine("process", "./process.js", { })
Now the code in process.js will be executed and a listener will be added to monitor messages from process.js .
In process.js you can write whatever you like but you have to include Spin code as provided in the example worker script.
You can use a code like this to communicate from process.js to the main process:
let message_id = getHTML("id_in_html")
print("Sent message: " + message_id)
This way you are using the included code to get the html of an element with the specified HTML id field. The response is managed by the parse_message method that is triggered each time a message from main is received.
As you already know your message_id, you can use the check_response method to determine which is the response of the main process:
let response = check_response(message_id, callback_method);
Take into account that callback_method can be any method ( with or without parameters ) that you want to define. The only requirement is accepting a first parameter with the message id as check_response will pass it to the method. Having the response stored into messages_awaiting, you can do something like this:
function callback_method(message_id) {
    print("[*] I am printing the result: " + messages_awaiting[message_id]);
}
As a living example, the send_message method uses check_response with a method that prints the result to the console, to ensure that the message has been properly received.
On another hand, you can write your own methods to send and receive messages to and from the main process.
To do this, follow the instructions in the next paragraph.
Adding your handlers
The main.js code contains a method called parseMessage, which is called when the message from the worker is received. You are free to edit or add a condition like:
else if (type == "your_customized_type") {
    // Do something
    return true, "Your customized response"
}
As you can see, the only required part is the return value defined as a boolean plus the message (it can be false plus error message too, of course).
As a last step, you can use your customized handle in your worker code, for example doing the following:
function myFunction() {
    let payload = {
    "type": 'your_customized_type',
    "your_field": 'your_field_content',
    "another_field": 'another_content'
    }
    let msg_id = send_message(payload)
    return msg_id
}
Then you can use that function in the same way as a built-in Spin function:
let msg_id = myFunction()
let status
let response
[status, response] = waitForResponse(msg_id, 1000)
Managing the messages from the main process
As you can easily see, the worker process contains the start() method which is called when the script is started. You can play with this but remember to keep the included code to be executed as soon as possible:
function start () {
    // NOTE Handling messages from the main process
    parentPort.on('message', (message) => {
    // NOTE Handle responses
    let j_message = JSON.parse(message.toString('utf8'))
    parse_message(j_message)
});
The parse_message(message) function is called every time the main process send a message to the worker. By default, the method parses the message and if type is "response", it looks for the message id field in the message. If the message id is found in the waiting queue dictionary:
messages_awaiting[id]
And its response value is null:
messages_awaiting[id].response==null
The method assign to the response field of the waiting queue dictionary the message contained in the message from main process:
messages_awaiting[id].response = JSON.stringify(message)
The above code is already included and is reported just to illustrate the mechanism behind what happens.
From your code, you can then check in any way you want the response field of the message you sent to the main process as described above or do whatever you want playing with parse_message method as for example adding different types of messages.
In main.js, of course, you will need to insert a code corresponding to your custom handler, as:
subroutine["routine_name"].postMessage(JSON.stringify({
    "type": "your_type",
    "your_field": "your_content"
}))
For example in a specific method, or on a specific condition.
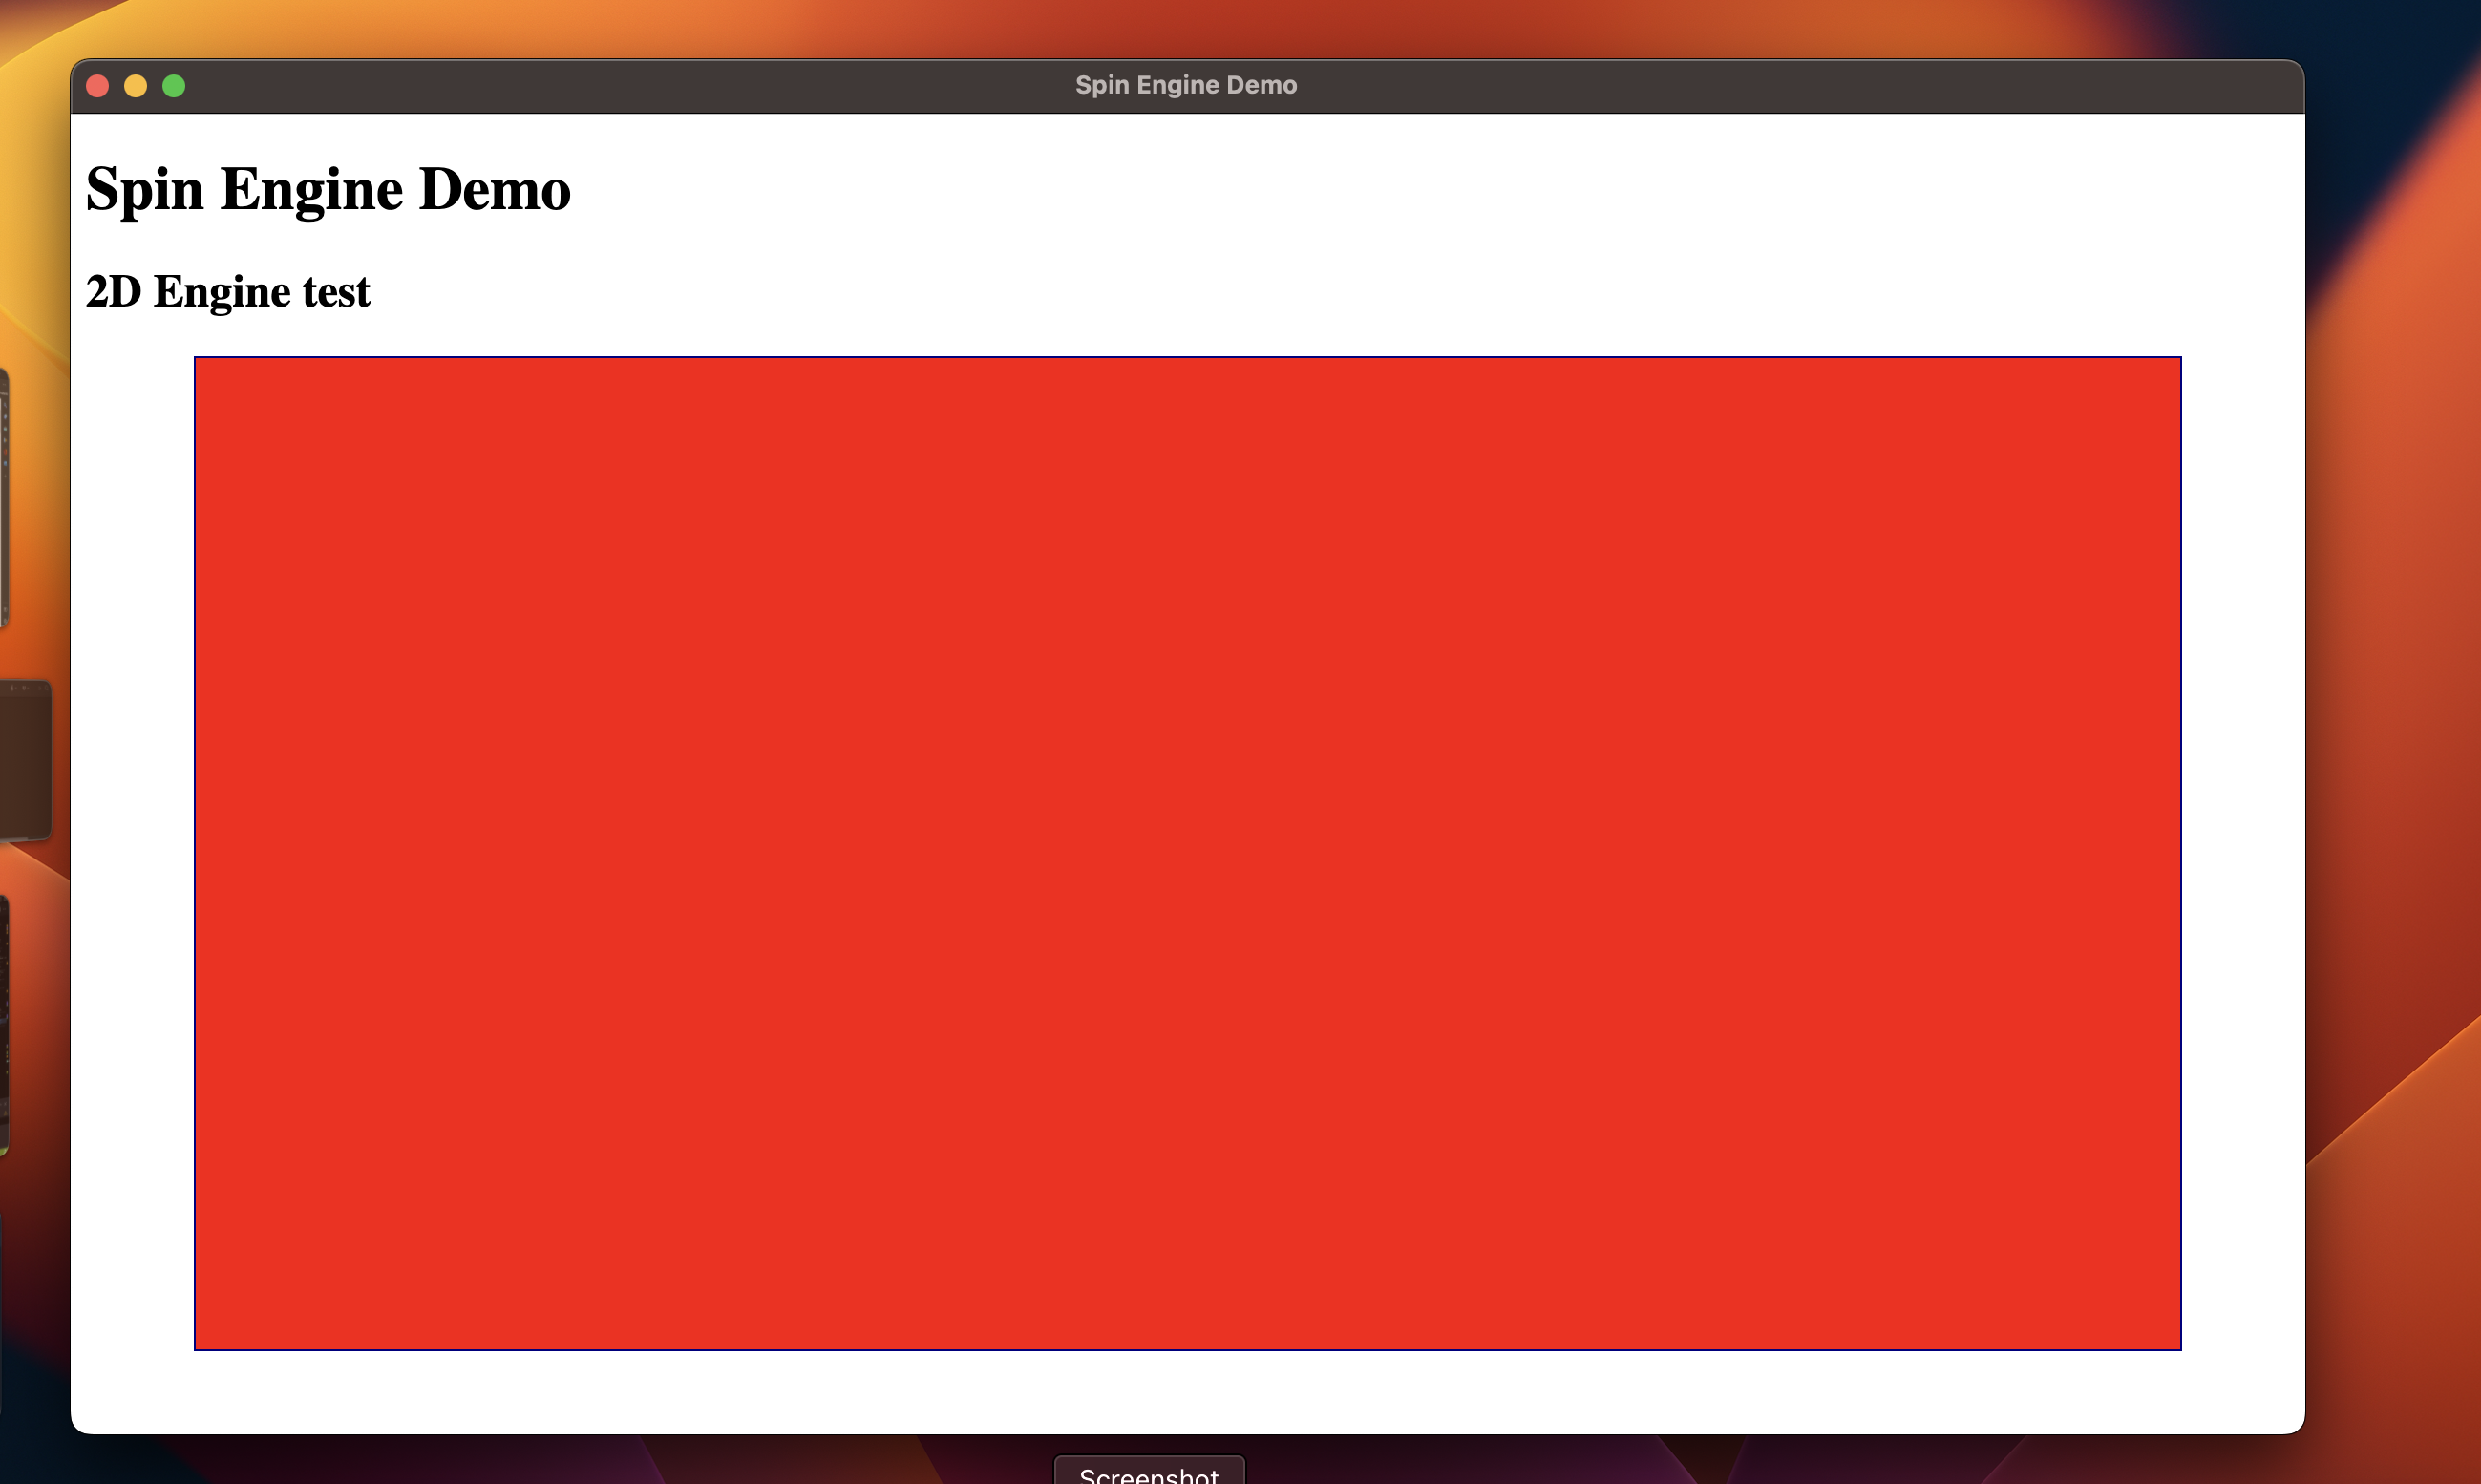
Proof of Concept
To better illustrate how this codebase works, let's make an example. By using the following methods in your worker file (e.g. worker_template.js) inside the start() method:
  setHTML("editable", "<h2>2D Engine test</h2>")
  setBackgroundStyle("backgroundColor", "red")
  setBackgroundStyle("width", "90%")
  setBackgroundStyle("height", "75vh")
  setBackgroundStyle( "border", "1px solid navy")
  setStyle("background", "margin", "auto")
You will obtain:
Recommendations
- Adding custom handlers requires paying attention to existing ones and to code organization. It is very easy to implement too many custom handlers and to ending up making the code's complexity explode
- This codebase is intended as a simple example of implementing the Spin methods and is not intended to be used directly in production environments
- Please pay especially attention to security, for example sanitizing or filtering (or avoiding) unsupervised code execution through exec or through cross executed javascript
- Once again, before using this in production environments remove all the methods that you don't need and double check security
- This codebase is still in development
Credits
Coded by TheCookingSenpai
License
Distributed under the CreativeCommons CC-BY-SA 4.0 License
https://creativecommons.org/licenses/by-sa/4.0/
You are free to: Share — copy and redistribute the material in any medium or format Adapt — remix, transform, and build upon the material for any purpose, even commercially. This license is acceptable for Free Cultural Works. The licensor cannot revoke these freedoms as long as you follow the license terms.
Under the following terms:
-
Attribution — You must give appropriate credit, provide a link to the license, and indicate if changes were made. You may do so in any reasonable manner, but not in any way that suggests the licensor endorses you or your use.
-
SharehareAlike — If you remix, transform, or build upon the material, you must distribute your contributions under the same license as the original.
-
No additional restrictions — You may not apply legal terms or technological measures that legally restrict others from doing anything the license permits.
Notices:
You do not have to comply with the license for elements of the material in the public domain or where your use is permitted by an applicable exception or limitation.
No warranties are given.
The license may not give you all of the permissions necessary for your intended use.
For example, other rights such as publicity, privacy, or moral rights may limit how you use the material.